Next stop, flooring
It may not look like the floor needs replaced in the picture below, but it has some serious issues. So, come along as we show in our own way, Replacing Flooring in an RV (step by step).
The hardwood planks were about an inch thick, and a few of the lower cabinets would not open without scraping. This was an issue for us as storage space is so valuable in an RV. We really need every inch we can find to still not have enough.
Gaps in the floor were also an issue due to its dirt-collecting ability Lol!
We choose to go with a one-piece vinyl and I will take you through the whole process of switching it out.
Hopefully, this will be much easier to clean and stand up to the abuse an RV is put through.
What a mess I got into
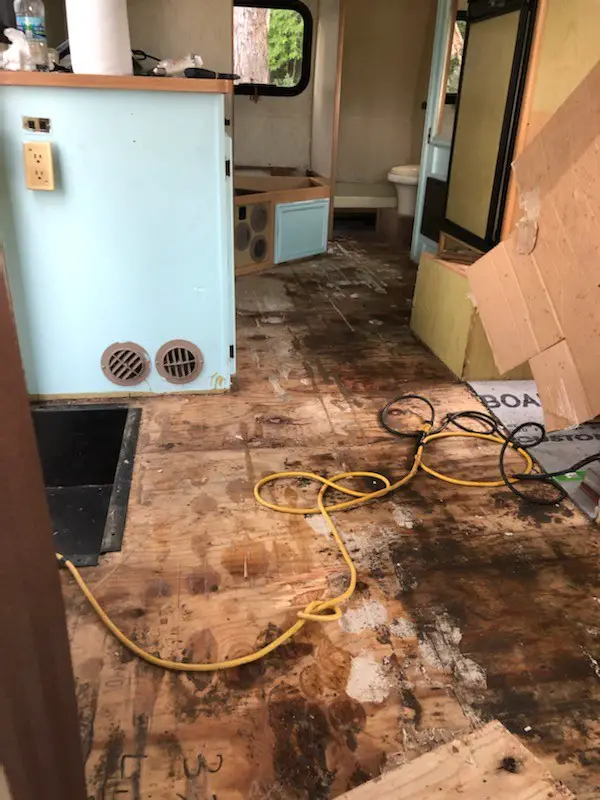
It was quite a chore to remove the hardwood flooring strips. They were glued, nailed, and stapled in and just did not want to come out.
The black you see is not mold (luckily for me), but one of the glues that were used to secure the hardwood planks. I could not find much on the internet on this subject and that is why I wanted to document our experience with this blog on, How to replace RV flooring.
The subfloor itself was actually in good shape for a 30-year-old RV. We just removed as much of the old adhesive as we could and screwed down any loose areas.
I did find one soft spot right in the entranceway and just cut it out. I replaced it with a foam board topped with plywood. This left it just a tad higher than the rest of the floor but it has since settled in nicely.
Putting it back together
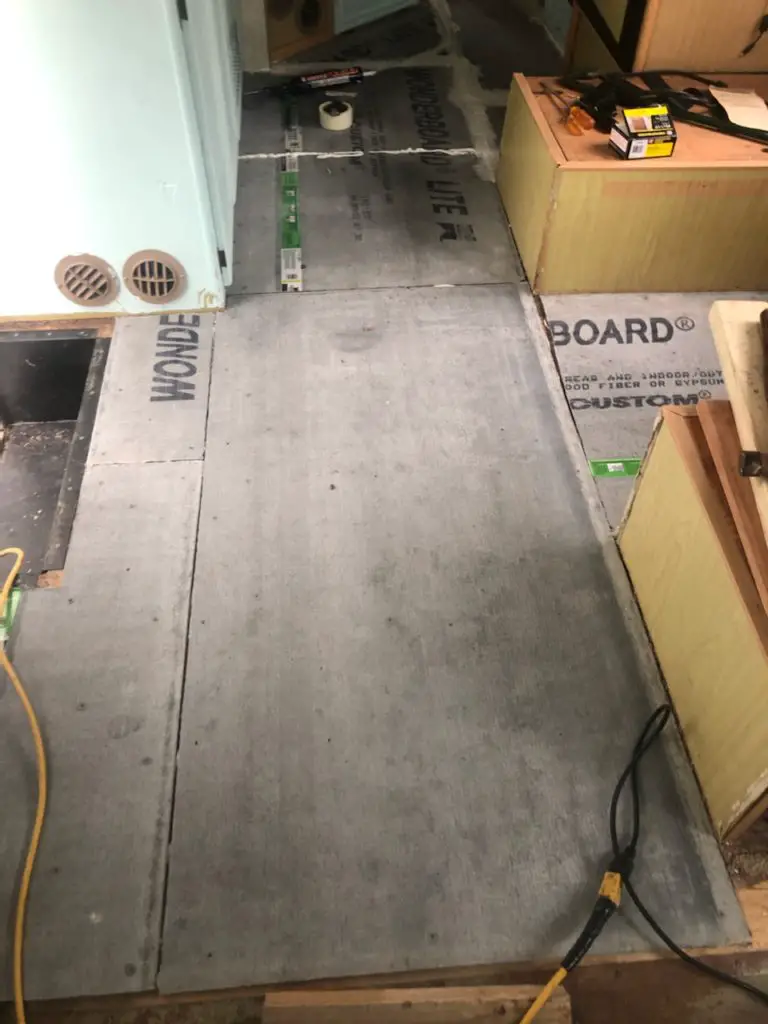
Once I cleaned up the subfloor, I decided to put down a 3/8 cement board to make the floor more rigid. This and the vinyl is still much thinner than the hardwood, so all cabinets will still be useable for us.
If you are laying a one-piece vinyl sheet down, you need a very level floor. Any imperfections will make themselves known quickly when you try and smooth them out.
Besides level, check for any nails or screws that may be sticking up a little.

I secured the cement board with adhesive and then screws it into the subfloor. Caulked the seams to try and keep a smooth and level transition between pieces. Make sure all screws are countersunk just a little (you will see once the vinyl is laid if not).
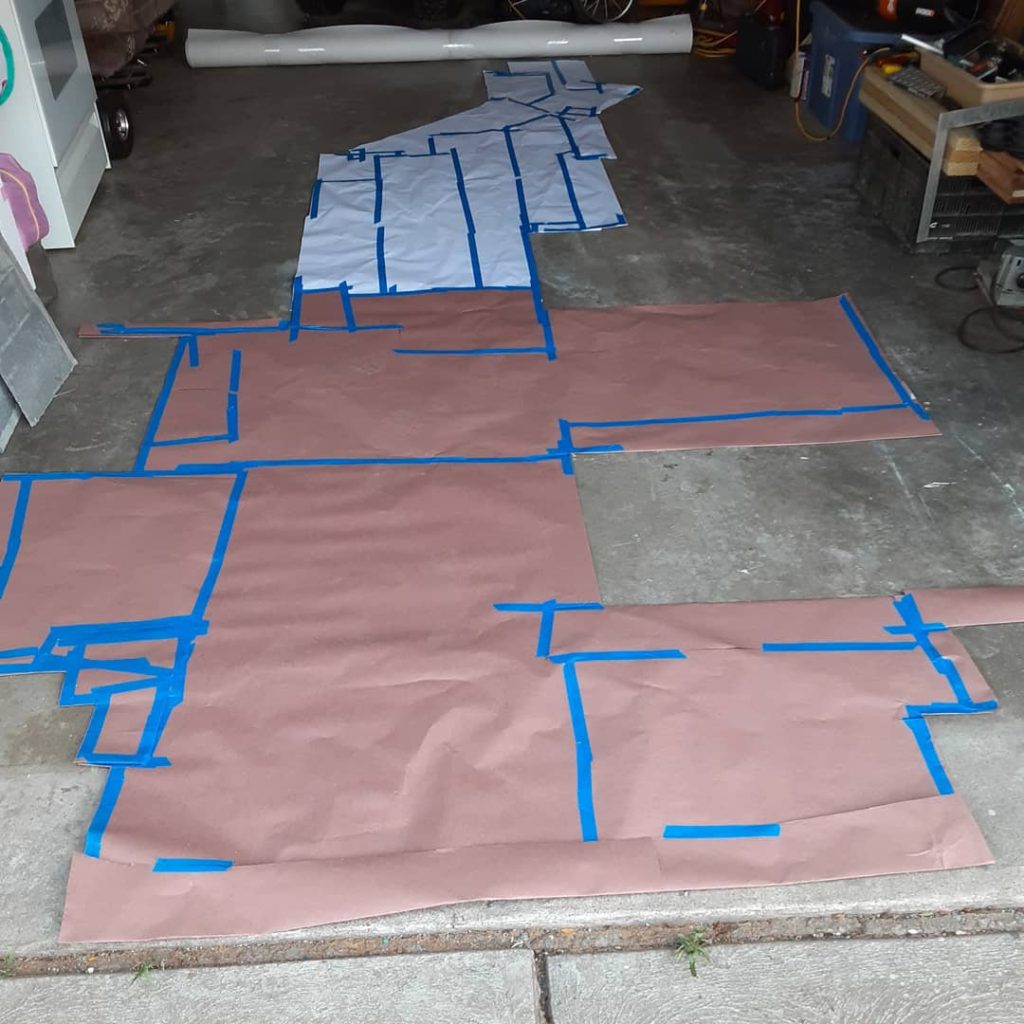
Vinyl sheet template
This is something I have never done before and it took me a little bit to figure out how I was going to get a design that was all one piece.
After thinking about it for a while, I went with a thick roll of construction paper and just pieced it out from one end to the other.
I cut and taped the paper to fit every nook and cranny of the whole RV floor.
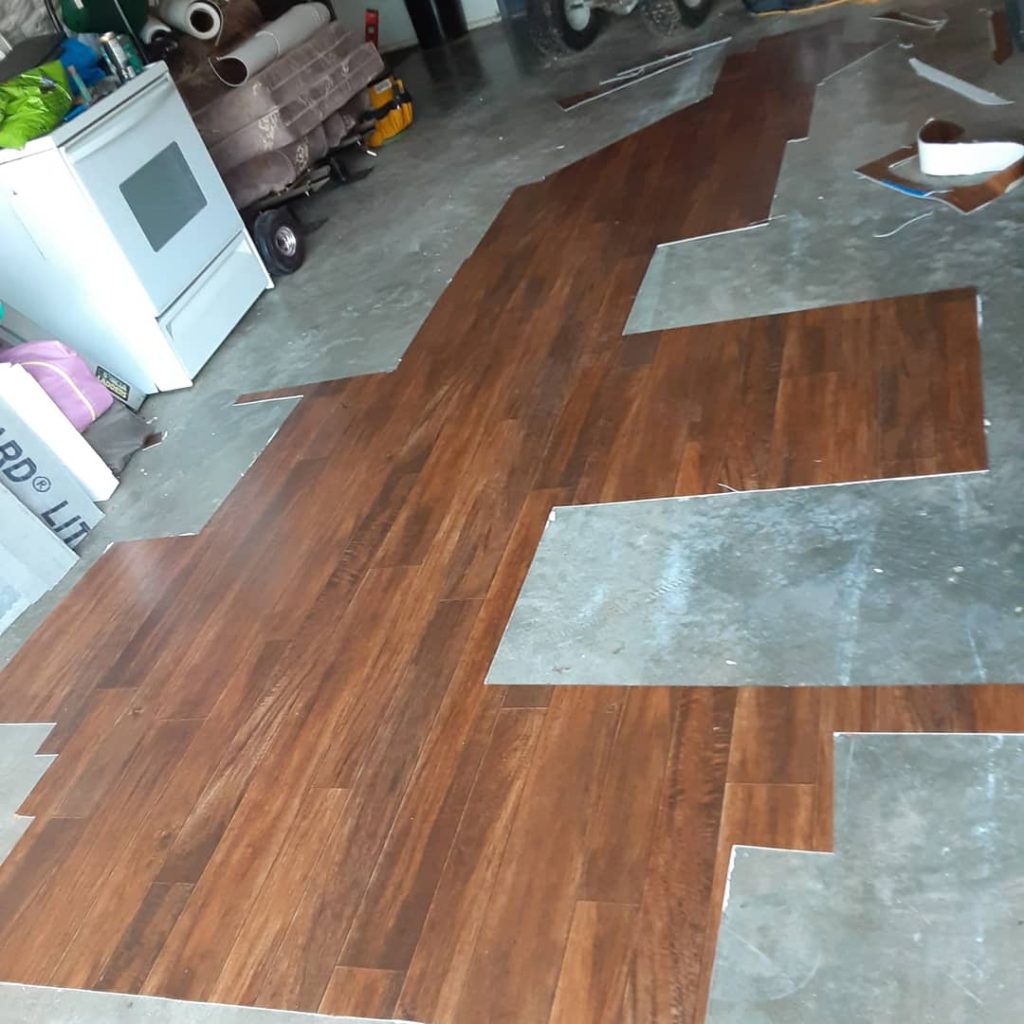
Cutting out the vinyl
This was a scary part for me, as one wrong cut and it would no longer be a one-piece sheet of vinyl.
To get this completed, I laid out the sheet of vinyl on the garage floor and then laid my template on top of it.
Very carefully with a razor knife cutting around the entire border.
Much to my surprise, it worked perfectly without any mishaps.
Just take your time on this step!
I purchased the sheet of vinyl from a discount flooring store, and just went with a remnant that was a perfect size. I am always looking for ways to save money and do projects as cheaply as possible. Some may call me a tightwad!
How to replace RV flooring
Laying the vinyl
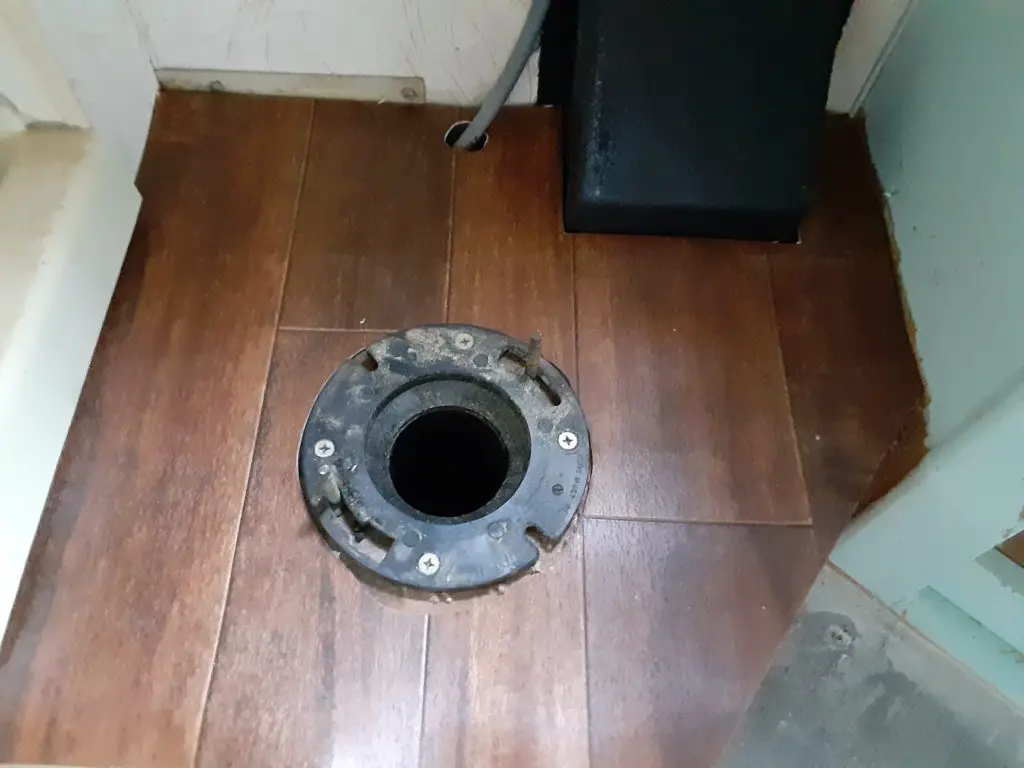
I start with one small spot under the toilet that needed to be replaced.
The carpet around the toilet, who does that?
Anyway, after removing the carpet and cleaning the area for the vinyl, I was ready. I cut a small piece of vinyl to replace the carpeted area and applied the adhesive. Smoothed it out and added a little weight until it had dried.
All of the vinyl was secured using a vinyl floor adhesive I found at Home Depot.
The adhesive application does not need to be put on very thick at all. Over-application will leave lumps under the vinyl and will just get squeezed out when smoothing the floor. This makes a huge mess you don’t want. It’s better to just go with less adhesive from the start.
I found the same item on Amazon for around $9 Vinyl Floor Adhesive
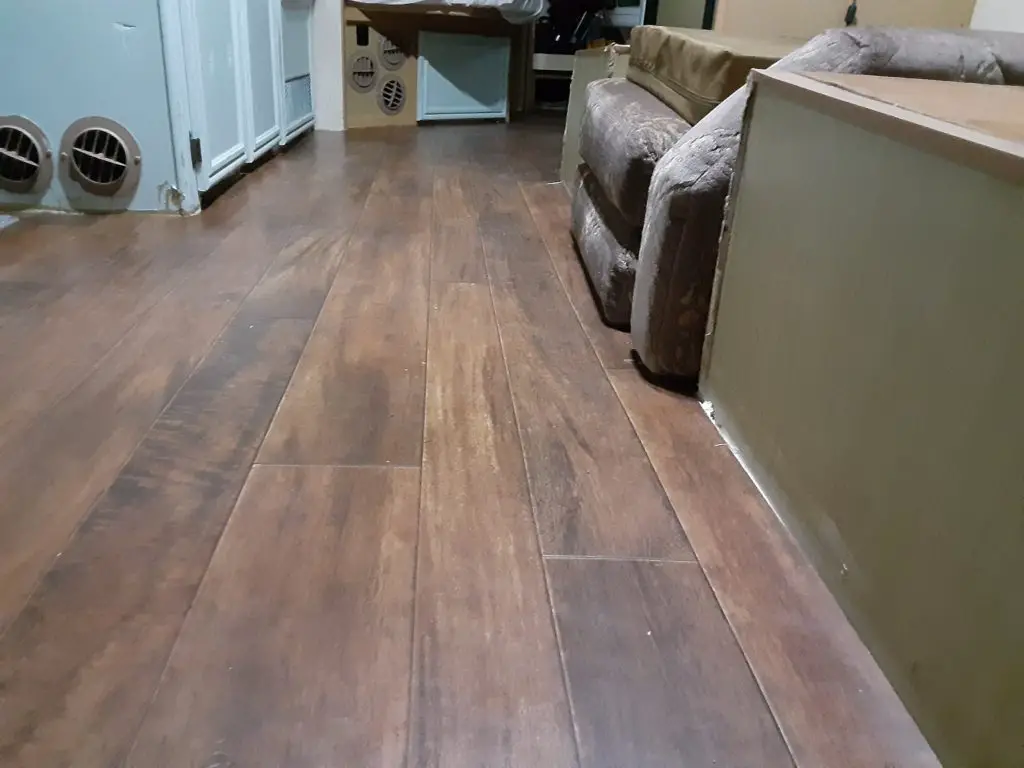
Laying the entire floor
When I began to lay the floor, I started at the small end with the most edges and corners to navigate.
Slowly moving to the larger end of the vinyl and just doing a section at a time.
This process should be done a couple of feet at a time and smoothing out any wrinkles as you go. Remember don’t overdo it on the adhesive.
Here is a really nice tool to help you smooth the floor as you go, POWERTEC Heavy Duty 27-Inch Extendable Roller
I found adhesive on Amazon also for around $9 Vinyl Floor Adhesive
Finishing Touches
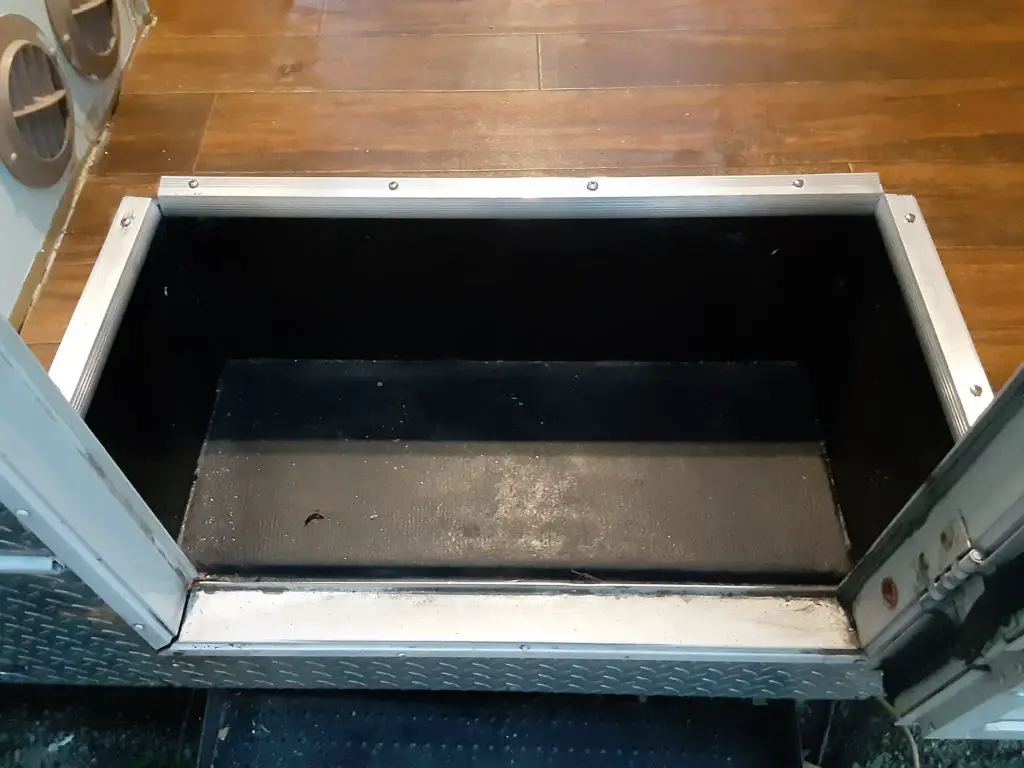
As you see in the above picture, we added stainless edge pieces around the steps to keep the vinyl secure.
This has a good finishing touch and keeps vinyl from being peeled up when you step into the RV.

Conclusion
RV’s as we know can sure keep us busy with all the repairs they need or updates we want to complete.
I never seem to find much information on projects I want to tackle when looking on the internet. This is why I am trying to document as much as I can while completing my RV repairs. See other projects @ 2 Boomers and Baby RV Class C Rebuild
Tips
- Research others projects
- Ask questions on forums
- Take your time
- Use your phone and take pictures before you tear something apart, you will thank me later
- Save pieces you removed in case you need them later, to reuse or use as a template

Previous Project
This was our first job to tackle since we did not want to use it until we finished. Check out our Blog on how to Rebuilding Class C Over Bunk
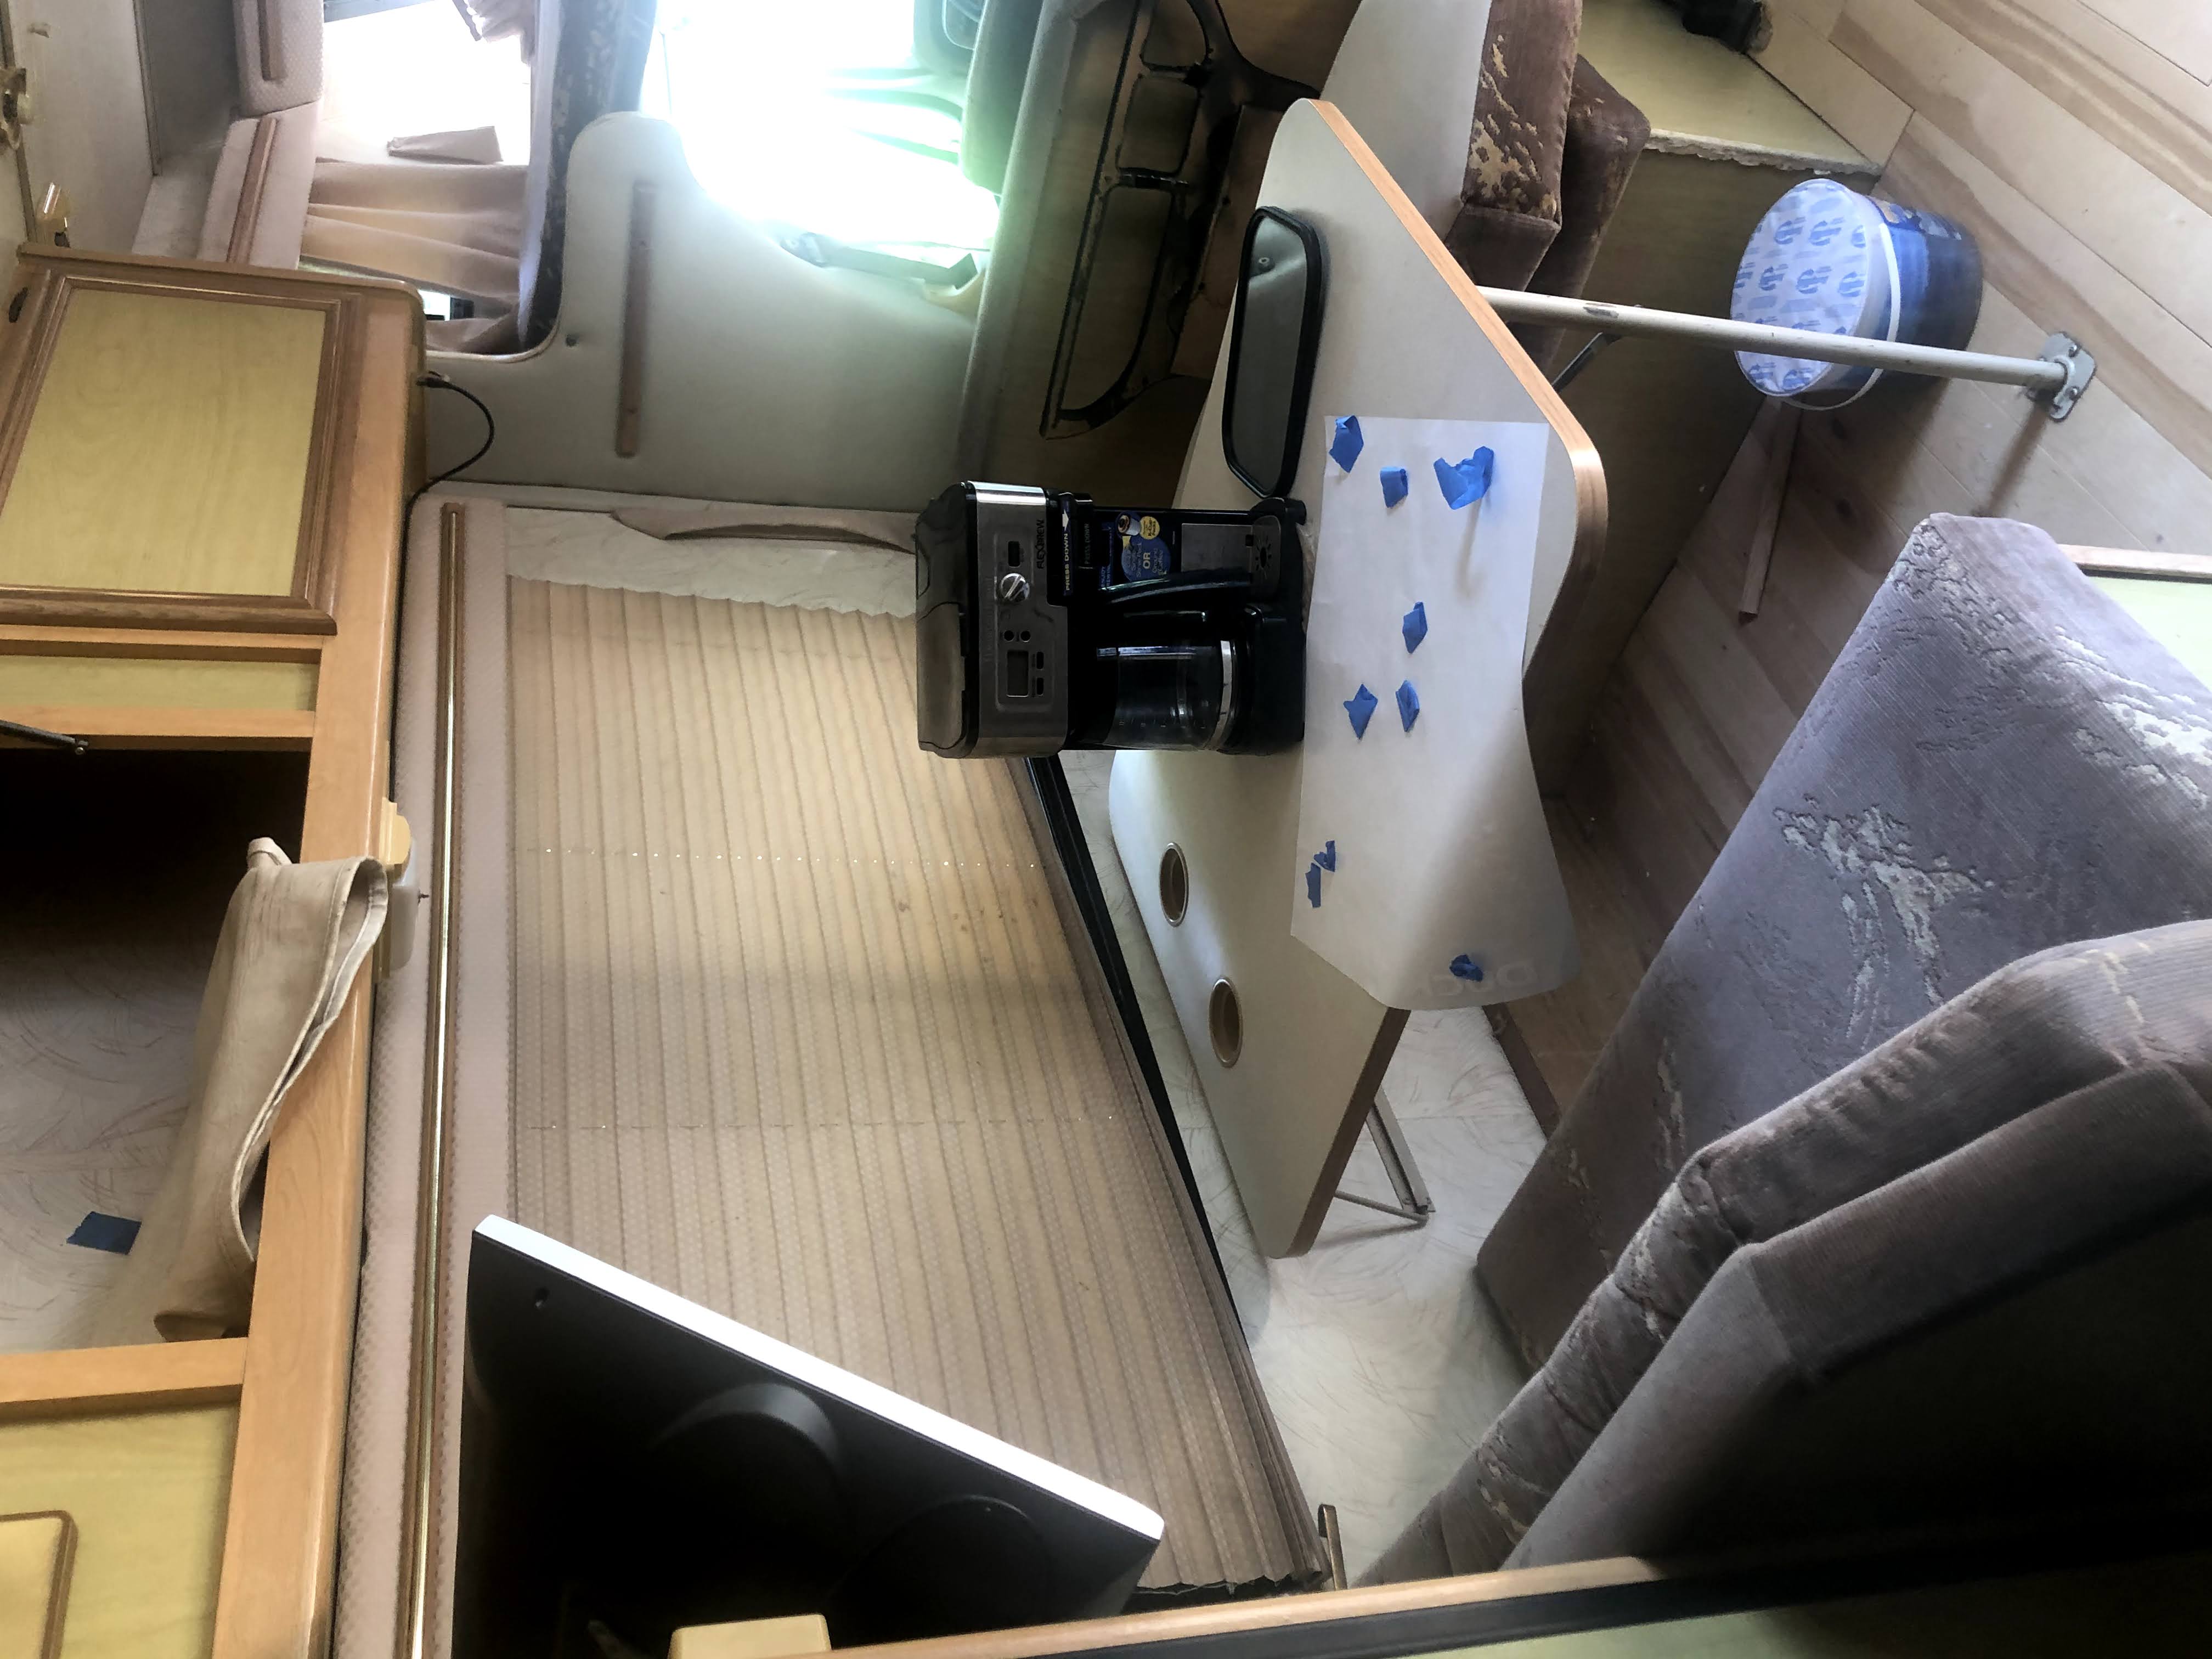
Next up
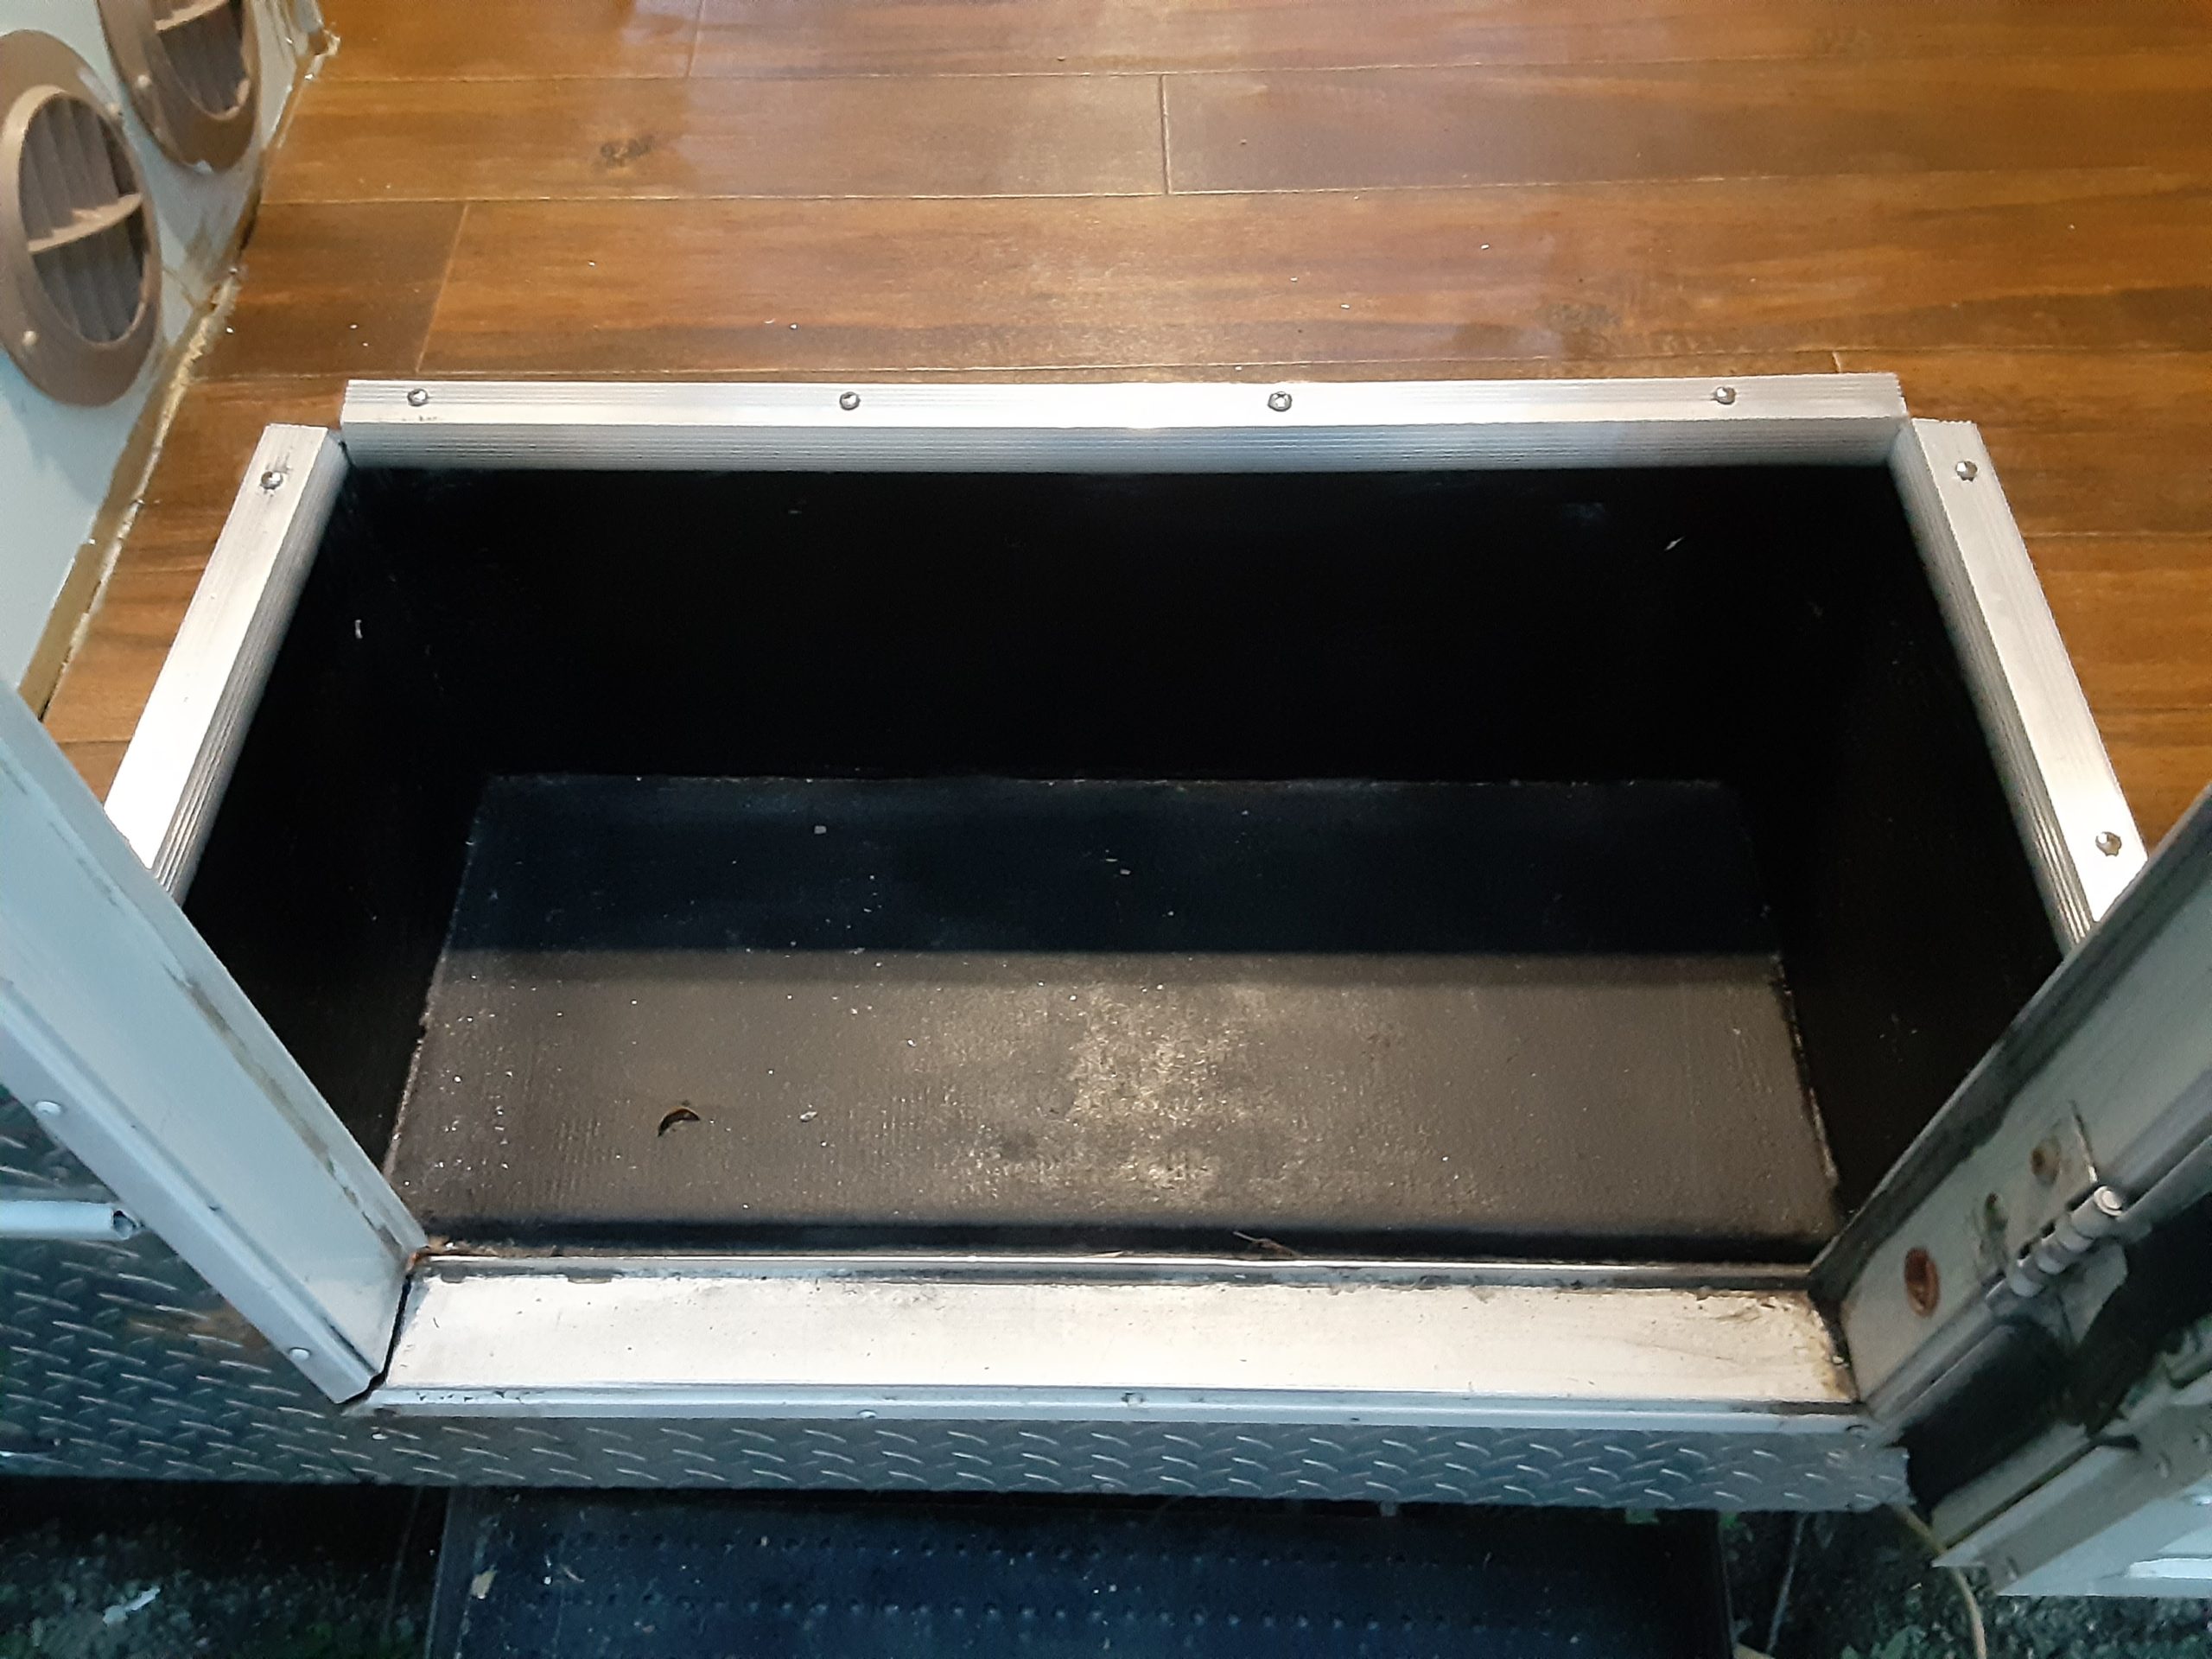
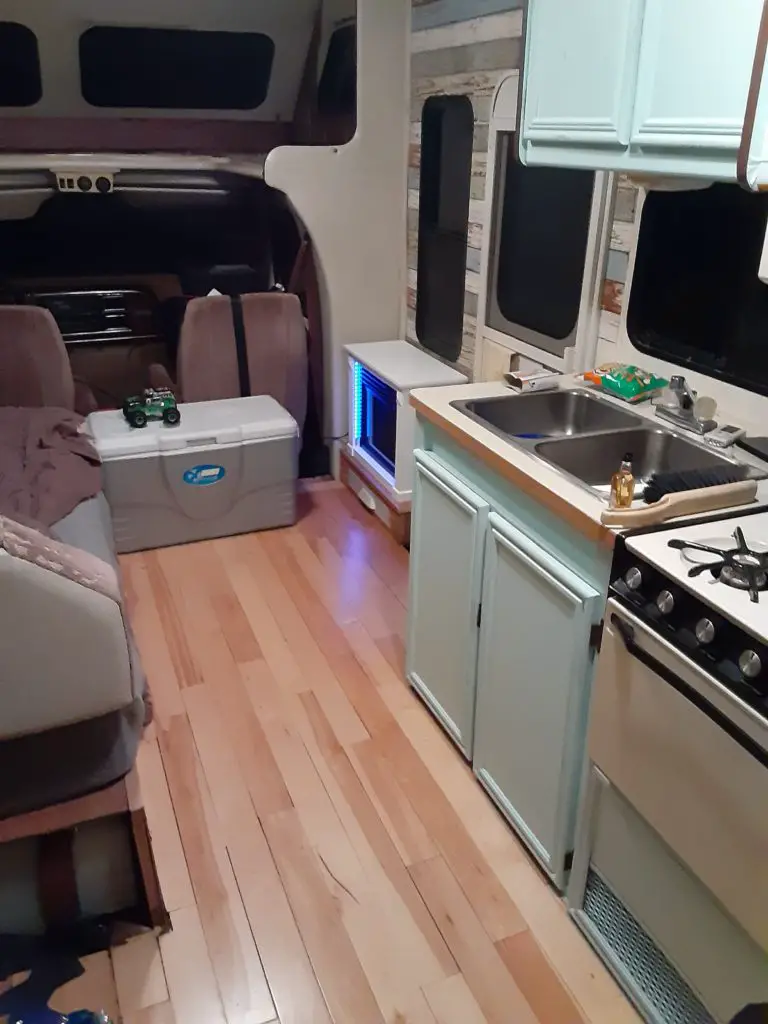
Our next project is turning the useless dinette pictured below into a couch. – stay tuned
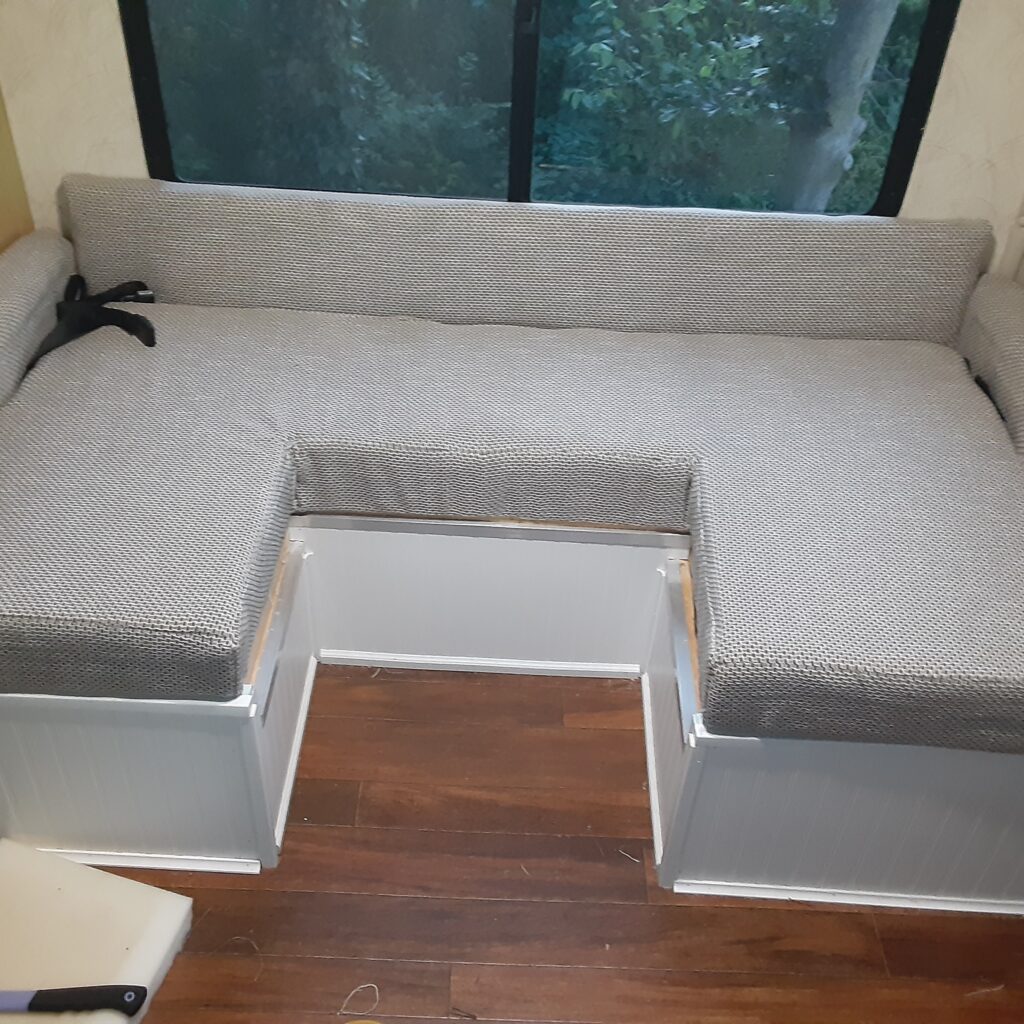
Update
Below is our dinette replacement, turned into a couch/day bed of sorts. With fresh water holding tanks under both benches, we were limited on the design.
We used 6-inch cushions that are perfect for sitting and sleeping on. The square center cutout can be lifted out and mounted on a pedestal for those rare cases when we would like a small table. So far we are very happy with the choice to completely remove the dinette.

Comments
2 responses to “RV Flooring: How to Replace it, with Pictures”
Another useful essay, thanks!
Thanks, This was quite the project that was put on my plate by my wife who decided she was going to pull the flooring out one day Lol!